Publish a Local Web Service with Cloudflare Tunnel and a Custom Domain
Version and screenshots
This guide describes the current source version. Published installers may have fewer features; check your build against the release notes. Screenshots use demonstration data and a Pro example state.
When a development web service needs a recognizable domain, Cloudflare Tunnel can connect that hostname to your local origin. Loris Tunnel manages locally managed named tunnels through cloudflared, alongside your SSH and other connections.
Before you start
You need a Cloudflare account, a domain managed in Cloudflare, permission to authorize the appropriate domain zone, and a working local HTTP or HTTPS service. This guide uses http://127.0.0.1:3000 and the placeholder hostname preview.example.com; replace both with your own values.
Loris currently supports HTTP and HTTPS origins for this provider. It does not expose every protocol supported by the standalone Cloudflare platform.
Authorize Cloudflare
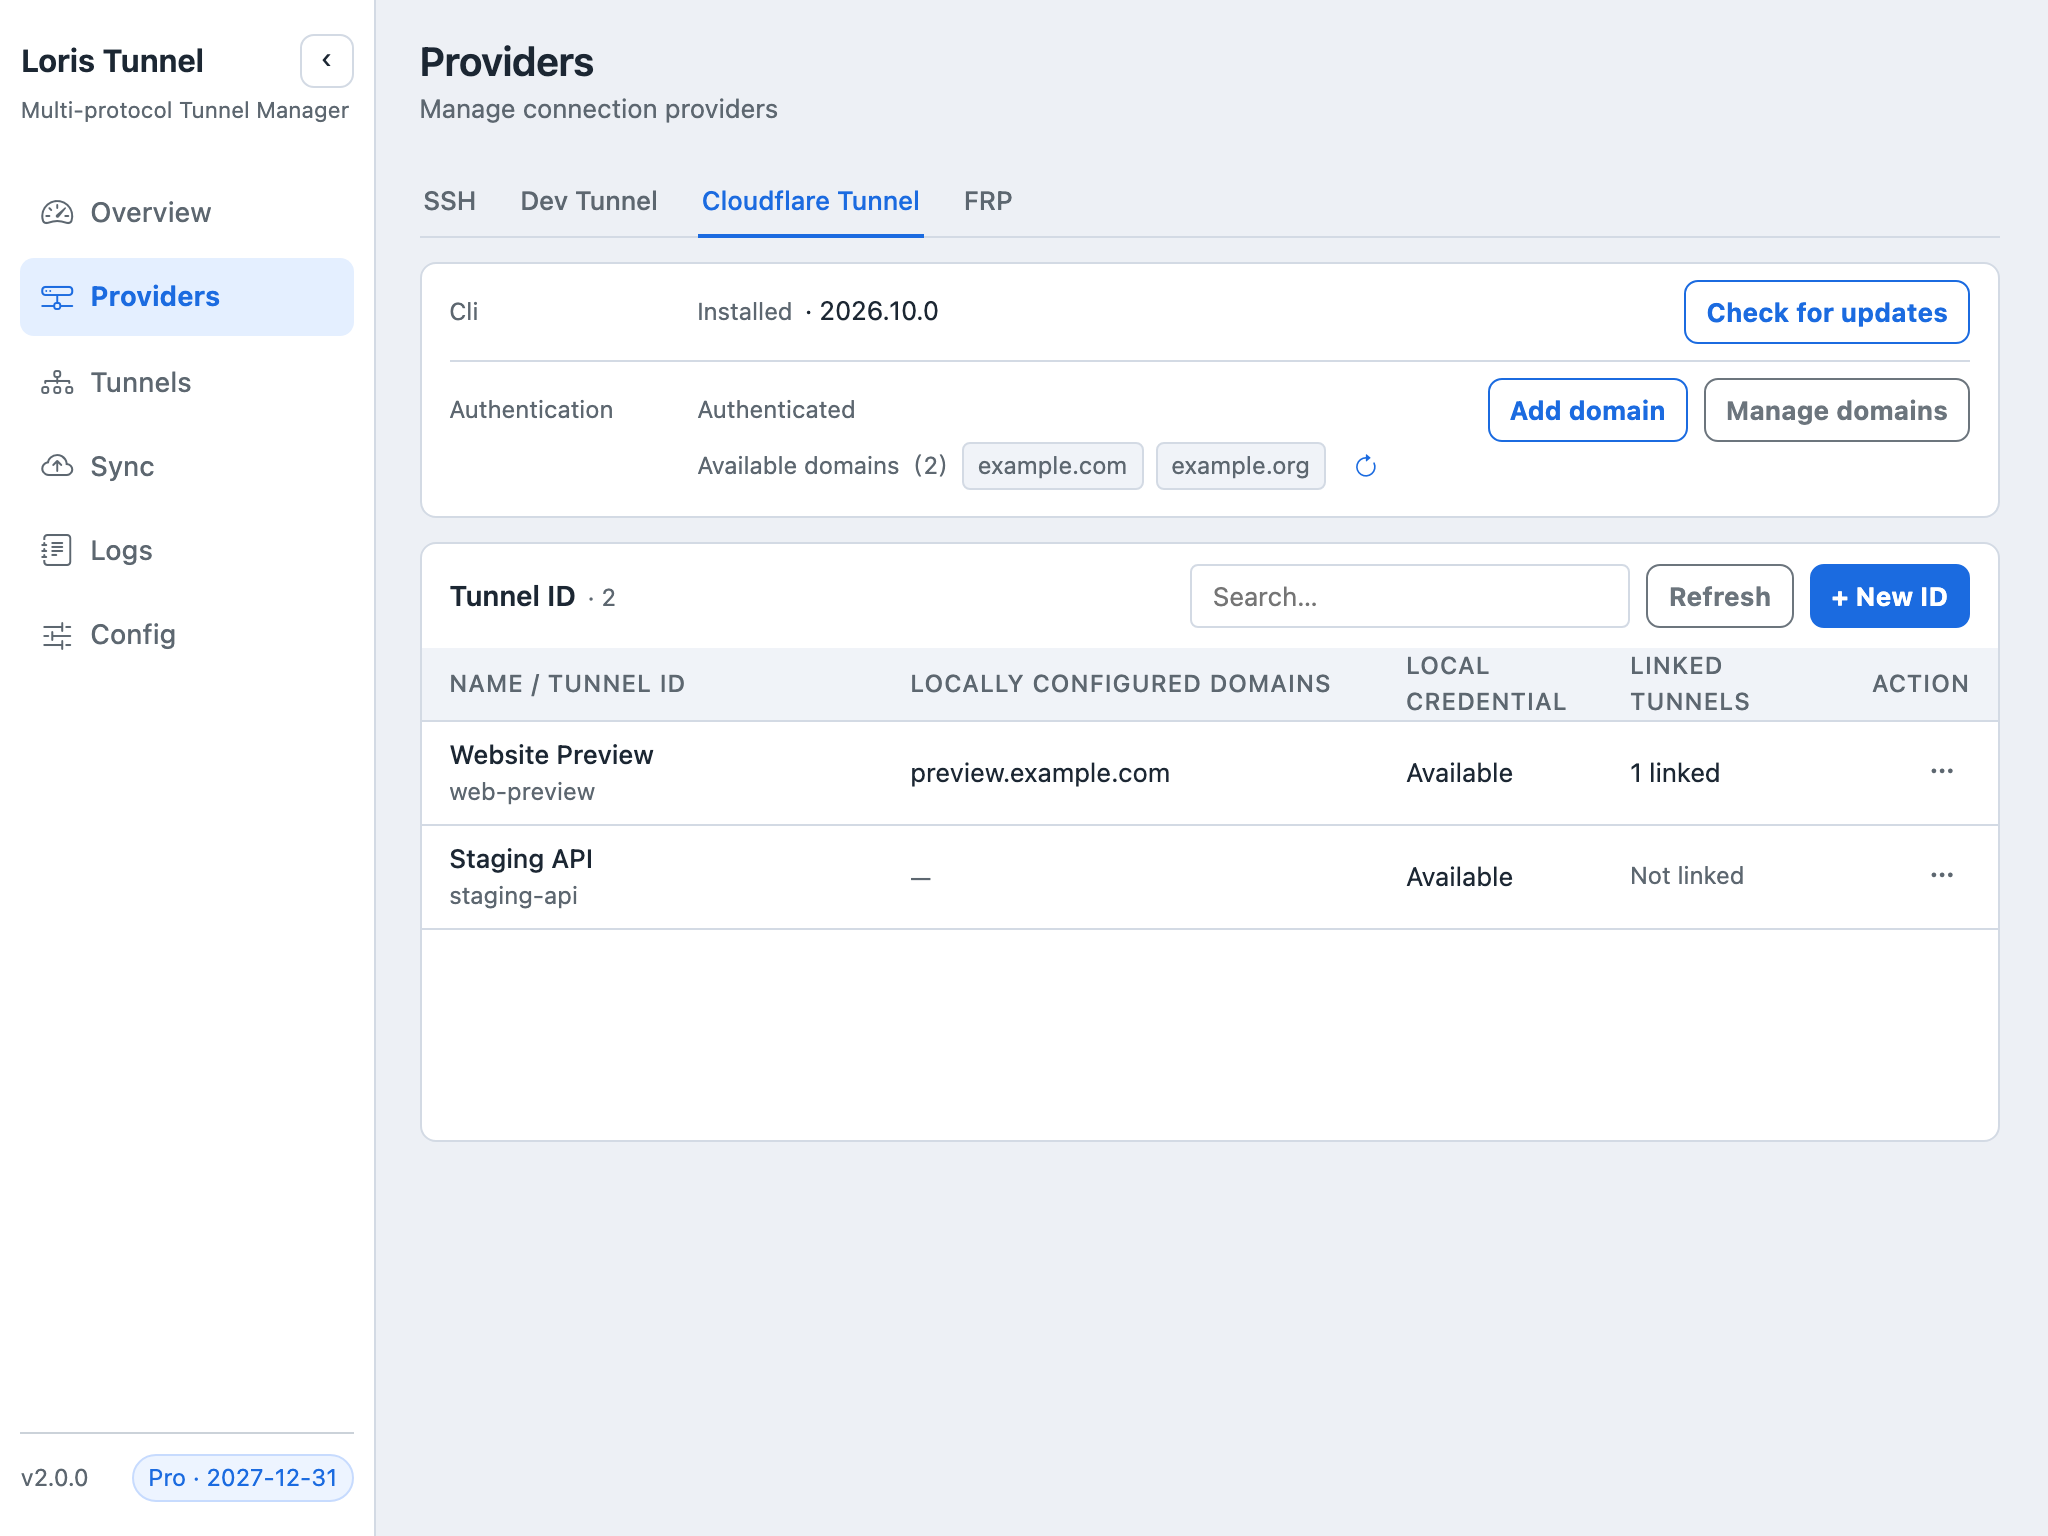
- Open Providers → Cloudflare and install
cloudflaredif needed. - Start the browser authorization flow and select the domain zone you intend to use.
- Return to the provider page and refresh the available domains and tunnel resources.
- Check authorization status and local credentials before choosing an existing named tunnel.
The underlying certificate and tunnel credential flow is described in Cloudflare's locally managed tunnel guide.
Create the hostname route
- Open Tunnels, add a tunnel and select Cloudflare.
- Set the local HTTP or HTTPS origin, including its port.
- Create a named tunnel or bind an available existing Tunnel ID. An existing remote ID must also have usable credentials on this computer.
- Select the authorized domain and enter the public hostname. Use a hostname not already assigned to another Loris tunnel.
- Save and start. Review any DNS routing or authorization error before treating the hostname as ready.
A DNS route associates the public hostname with the tunnel. A connected cloudflared process alone cannot correct an incorrect hostname, missing DNS route or unavailable origin.
Understand local credentials
Authorization certificates, zone authorization data and tunnel credentials are kept under ~/.cloudflared, outside the ordinary Loris TOML configuration. A Tunnel ID is an identifier, not a substitute for its credentials.
On another computer, install the CLI, authorize the relevant account and domain, and provide the appropriate named-tunnel credentials securely. Restoring TOML does not transfer those local files.
Verify the service
Open the local origin first, then start the tunnel and inspect its logs. Open the public hostname from the intended visitor environment and verify an actual application response. With an HTTPS origin, separately check the origin's TLS configuration if the connection fails.
Publishing a hostname does not add visitor authentication to your application. Configure application authentication or a suitable Cloudflare access policy when access needs to be restricted.
Common questions
Why does my Tunnel ID show missing credentials?
The remote resource can exist without its credential file being present locally. Select a resource with usable credentials or complete the local credential setup for that named tunnel.
Why is the tunnel running but the page unavailable?
Check the local origin, selected domain authorization, DNS route and public hostname separately. The monitoring guide explains why these states differ.
Can two entries share the same hostname?
The Loris configuration rejects duplicate Cloudflare hostnames and duplicate assigned Tunnel IDs. Choose a distinct hostname or edit the existing entry.